How to waterproof a tent – waterproofing tips, tricks, and techniques so you can always enjoy a comfortable and dry camping trip.
Your tent’s main job is to keep you dry. To that end, waterproofing is essential to a functional tent and a comfortable camping trip.
Every tent, from a cheap pop up to a high-end backpacking tent needs a water-resistance refresh from time to time.
So, if you want to make sure you stay dry while camping, you’ll have to waterproof your tent from time to time.
Luckily, it’s a pretty straightforward process.
So how do you waterproof a tent?
If you don’t already know your sealant from your coating, don’t worry.
In this post, we’ll break down everything you need to know about waterproofing for tents, including how to seal tent seams, waterproof a tent fly, and pick the right products for your tent.
This guide is 100% beginner-friendly.
We’ll show you the step-by-step process for the best way to waterproof a tent, and give you all the tips and tricks you need to make sure your tent is rain-ready.
Let’s get started!
Note: this post contains affiliate links, which help run this site at no extra cost to you so I can keep providing free travel advice and tips.
Why Do You Need to Waterproof a Tent?
So why would you need to waterproof a tent?
First off, it’s difficult to be comfortable and nearly impossible to stay warm if you’re wet.
In addition, most of your gear won’t perform right if it’s waterlogged. Soaked sleeping bags and down jackets lose their loft and warmth. Damp hiking shoes cause blisters.
So, waterproofing tents for camping is essential.
Most modern shelters come with sealed seams, but some cheap tents don’t.
For these tents, you’ll need to treat them with tent seam sealer spray or tape before your first camping trip.
Even for high-end products, the tent coating tends to degrade over time and needs to be refreshed.
Some common repairs include refreshing the tent rainfly waterproofing or re-waterproofing a tent floor when it gets leaky.
Read our full guide to the best camping canopies.
Does Waterproofing a Tent Work?
Short answer: YES.
Long answer: Yes, to a point.
No matter how well you seal the seams or how many times you use waterproofing spray, no tent is perfect.
You can expect even a high-quality tent to get a little water inside in serious weather.
However, there’s a big difference between a little water in the corners and essentially sleeping outside in a thunderstorm.
Waterproofing will seriously reduce the amount of water that gets inside your tent during routine rain storms.
Do You Need to Waterproof a New Tent?
If your tent seams are not sealed or the tent fabric has no coating or treatment, you’ll need to waterproof your tent right away.
This is most common with cheap tents.
However, most tents sold today are at least water-resistant. You may want to improve the water repellency on a lower-end tent, but it’s not strictly necessary.
When Should You Waterproof a Tent (or Re-Waterproof a Tent)?
It’s best to wash and maintain your tent as necessary, not excessively or on a set schedule.
How often you need to re-waterproof will depend on how often you use the tent.
You can re-waterproof your tent when you notice its coatings becoming worn. We’ll show you how to inspect your tent for this below.
5 Steps to Waterproof a Tent
Step 1: Clean and Repair Your Tent
What You’ll Need to Wash Your Tent: Gentle soap, sponge, cloth, water, tub, and a shady and dry spot outside.
What You’ll Need to Repair Your Tent: Rubbing alcohol, damp cloth, correct patches, and sealant.
If you’re going to apply tent sealant spray or re-seal the seams, make sure you start with a clean tent.
The water repellent products won’t stick properly to a dirty surface.
If you’re new to washing your tent, there are a few things to keep in mind.
Tip #1 – Don’t wash your tent with dish soap or anything with strong detergents. These types of soap degrade the waterproof coating on your tent fly and fabric.
Use a product specifically designed for water repellent gear, like Nikwax Tech Wash (you can get it here from Amazon or REI).
Otherwise, you’ll strip the coating and damage your tent waterproofing even more.
Tip # 2 – You want to be gentle when you clean your tent. Never put it in the washing machine or dryer and use a gentle sponge and cloth.
For a deep dive, REI has a great in-depth video and guide to cleaning your tent that addresses mold, pine sap, and other tricky problems.
Note: If your tent is brand new or already clean, you can skip this step or just spray your tent with water and wipe it down with a damp cloth.
Once your tent is clean, you’ll want to check if it has any rips or tears in the fly, mesh, or tent fabric.
Fix these before proceeding with waterproofing your tent.
Holes can be patched with a bit of Tenacious Tape or Gorilla Tape (or any weather-resistant tent tape of your choice).
Just make sure to use the right tape for your job. There are special patches for mesh fabric and tents with a silicon coat.
You’ll want to trim any frayed strings and prep the area with rubbing alcohol before applying any patches.
If you’re new to tent repair, this REI video will take you step-by-step through the process.
Step 2: Identify Problem Areas
If your tent is clean, dry, and repaired, it’s finally time for tent waterproofing!
The first thing to look for is leaks.
Set up your tent outside and hose it down. Make sure to run the water for at least a few minutes to give the best approximation of an actual rainstorm.
The areas where water is coming through will need more attention.
The next thing to look for is peeling and delamination of the sealant on the seams and the tent fabric (both the fly and the bottom portion of the tent).
Check to see if the water repellent tent treatment is still intact or if it’s starting to flake off.
It helps to flip the fly inside out on top of your tent for closure inspection and easier sealing.
Find the areas that will need the most attention and keep them in mind as you start waterproofing.
Step 3: Seal Tent Seams
First, wipe down your seams with rubbing alcohol and remove any large flakes of sealant that are coming off (leave the sealant that’s still well attached – no need to scrub or rip it off).
You’ll be sealing the seams on the underside of your rain fly and the inside of the tent.
To seal the seams, take a small brush and paint your sealant onto the seams in a thin layer about 1 mm thick.
Be sure to wipe off any excess that lands outside the seams before it has a chance to dry.
Now, let the sealant dry as directed on the packaging, or at least 24 hours before packing it away and leave it out of the sun.
As always, be sure to use the proper sealant for your gear’s fabric and coating.
Most tents have a simple polyurethane coating, but some use a silicon coating that requires a different type of sealant.
Check with the manufacturer or the label on the tent to find which product you need.
If your tent is only leaking from one place in a single seam, you don’t need to re-seal every seam but it doesn’t hurt.
Step 4: Refresh Polyurethane Tent Waterproofing
In addition to the seams, the fabric inside your tent fly and ground portion carries a lighter water-resistant coating made of polyurethane or, less commonly, silicon.
If patches of fabric look dull and flaky, or they’re getting soaked with water, you can refresh the coating.
Unlike tent water repellent spray, this is a spot treatment, not an all-over product.
You’ll be applying it to the areas that need it most on the underside of your fly and the inside of the tent (and no, you can’t use the same DWR spray product that you’ll be using on the outer fly. It won’t work well).
To apply, clean the area until it’s smooth, treat it with rubbing alcohol, and apply sealant to the affected area in a thin layer.
Just as before, keep your gear out of the sun and allow it to dry for at least 24 hours.
Check to make sure the area of the fabric where you applied the new coat looks shiny and smooth before packing it away.
Step 5: Rainfly & Floor DWR Coating
The last step in waterproofing a tent is refreshing the durable waterproof coating (DWR) on the outside of the tent fly and ground cloth.
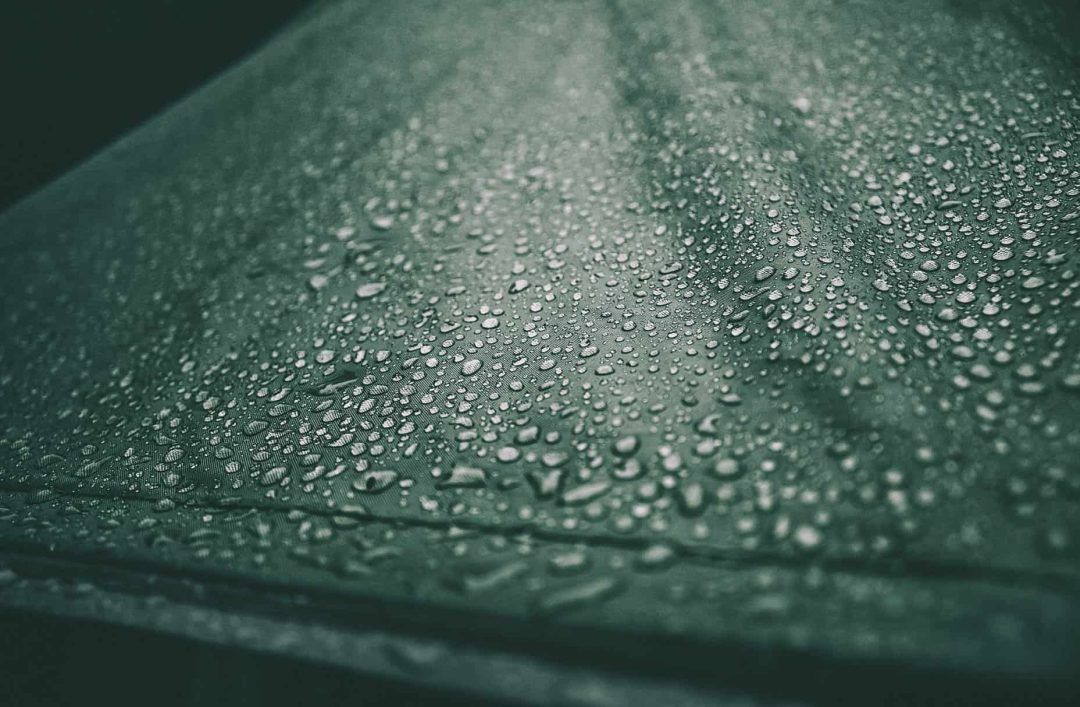
The purpose of this coating is to help water bead up and run off the fly instead of soaking through it.
This coating isn’t as long-lasting as a waterproof sealant for tents and seams, so you can expect to refresh it more frequently.
These tent sealant spray products can last anywhere from a few months to just a few rainstorms, depending on who you ask.
However, they don’t cause any harm and they offer some extra protection and longevity for your gear.
Some even have built-in UV-blockers which will help your product stand up to the damaging sun.
To apply the product, simply spray down the outside of your tent fly with the DWR spray (some products will require the fly to be wet first).
Leave the spray to sit for a few minutes, then wipe off any excess with a cloth. You’ll also apply it to the outer side of the tent floor using the same process.
How to Waterproof a Canvas Tent
Canvas tents are some of the most durable and luxurious tents on the market, but they need special care.
Canvas tent waterproofing is certainly different from how to waterproof a nylon tent.
First, set the tent up outside and allow it to get wet and dry out a few times. This causes the fibers to contract and gives the tent natural waterproofing (this is called “weathering”).
After that, your canvas will be relatively rain-proof, but it still might need a refresh from time to time.
To refresh your tent, use a silicon-based waterproofing product designed for canvas (like this one) that won’t ruin the fabric’s breathability.
How to Waterproof a Tent With a Tarp
Using a tarp to “waterproof” your tent means it won’t really be waterproof at all, but that doesn’t mean it won’t work.
See REI’s guide here for a few different ways to rig up a tarp to stay dry without having to fully waterproof your actual tent.
Read our full guide to the best camping canopies.
More Tips for Waterproofing Your Tent (And What to Avoid)
- DO use the right products for your tent. Make sure you know which sealants are compatible with your fabric before you start sealing.
- DON’T use harsh detergents or chemicals when cleaning your tent. You’ll strip the waterproof coat and do more harm than good.
- DO allow plenty of time for everything to dry. This will require patience and planning – you may need a few days to let everything dry between each step.
- DO buy the right tent for your trip. A well-waterproofed cheap tent just won’t hold up as well as a quality tent.
Check out our guides to the best 4-person tents, 6-person tents, 8-person tents, 10-person tents, 12-person tents, large camping tents, 3-room tents, instant tents, pop-up tents, inflatable tents, tunnel tents, waterproof tents, insulated tents, winter tents, tents with stove jacks, and cabin tents.
Are There Any Downsides to Tent Waterproofing?
Not really. A fully waterproofed tent will be less breathable, but this is better than a wet tent.
However, if you have a new tent or one that doesn’t leak in the rain, waterproofing your tent isn’t as necessary until you start noticing a lot of water getting in.
Instead, save your money for other cool outdoor gear.
What is the Best Waterproofing Spray for Tents?
Kiwi Camp Dry Heavy Duty Water Repellent – Kiwi Camp Dry Heavy Duty Water Repellent is a long-time favorite because it can waterproof just about all of your camping gear, from tents to shoes and backpacks.
Plus, the cans last a while, so you’ll be able to cover an average tent with just one can.
Nikwax Tent and Gear Solarproof Waterproofing Spray – Nikwax Tent Spray is great for backcountry camping because it’s non-toxic and biodegradable.
Nikwax waterproof spray also carries UV protection, which extends the life of your gear.
To keep yourself dry as well, here’s are full guide to the best backpacking rain ponchos.
Conclusion – What to Remember When Waterproofing Your Tent
Hopefully, if you came here looking for how to make a tent waterproof, you have more than enough tips and information now to go forth and seal seams with confidence.
If I could leave you with a specific tip, it’s to find your manufacturer’s instructions and treat your tent accordingly.
This will pay dividends – your tent will thank you and keep you dry for years to come.
Happy Camping!
ABOUT THE AUTHOR

Kristi Allen
Kristi Allen is a freelance journalist and travel writer from the US specializing in all things outdoors. She grew up hiking and backcountry skiing in the North East and has driven 15,000 miles across the US and Canada in an ongoing quest to visit every national park. Kristi covered politics before moving abroad and lived in Peru, Italy, and China. She is currently exploring the US by van with plans to return to Asia in 2021.
Looking for more gear for your next outdoor adventure? Check out our recommendations below!
Best Screen Houses for Camping Bug-Free
Best Hammocks with a Mosquito Net
Best Reclining Camping Chairs with a Footrest
Pin this image for future reference

